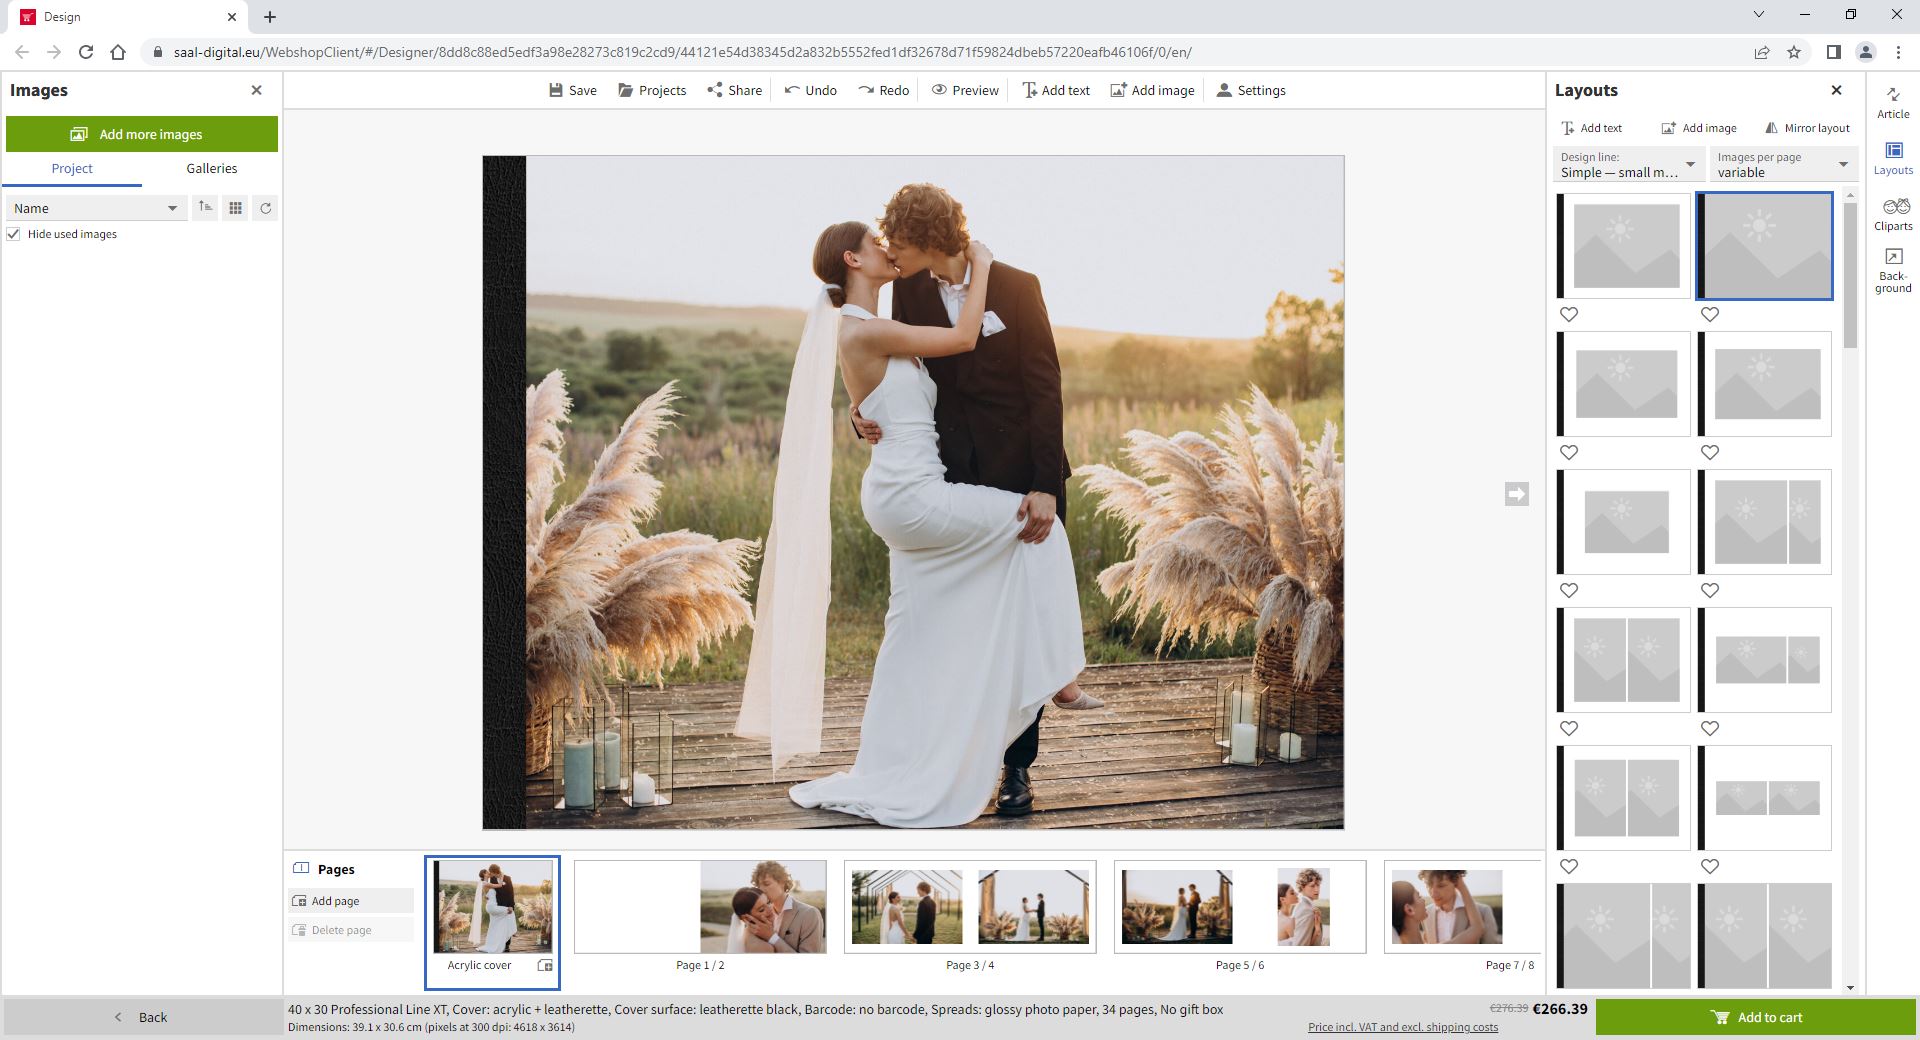
There are several options for sharing your projects, depending on your needs. The first thing you need to do is to activate sharing. There are several places where you can enable this option. When designing a project, you will find a Share button in the top menu of the designer.
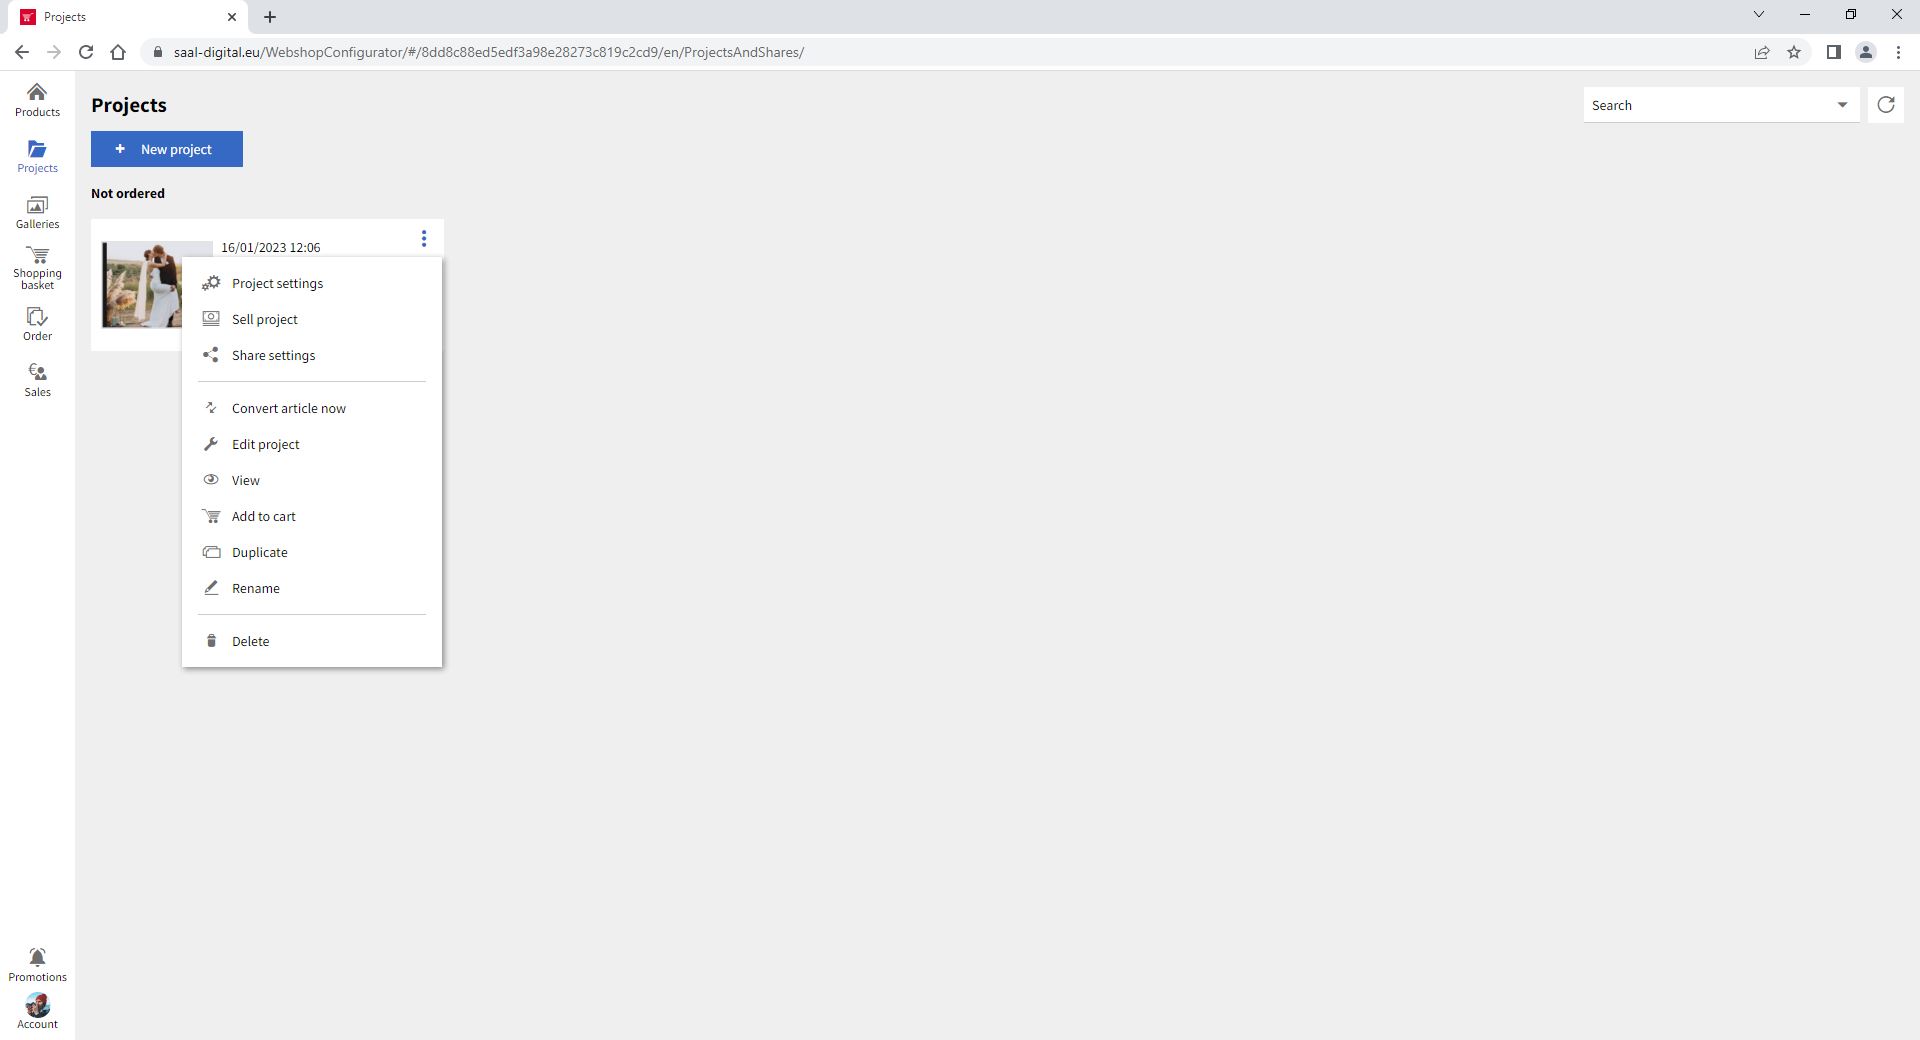
In the Projects panel, if you open the menu of one of the projects, several options will appear. There you will find the Share settings button.
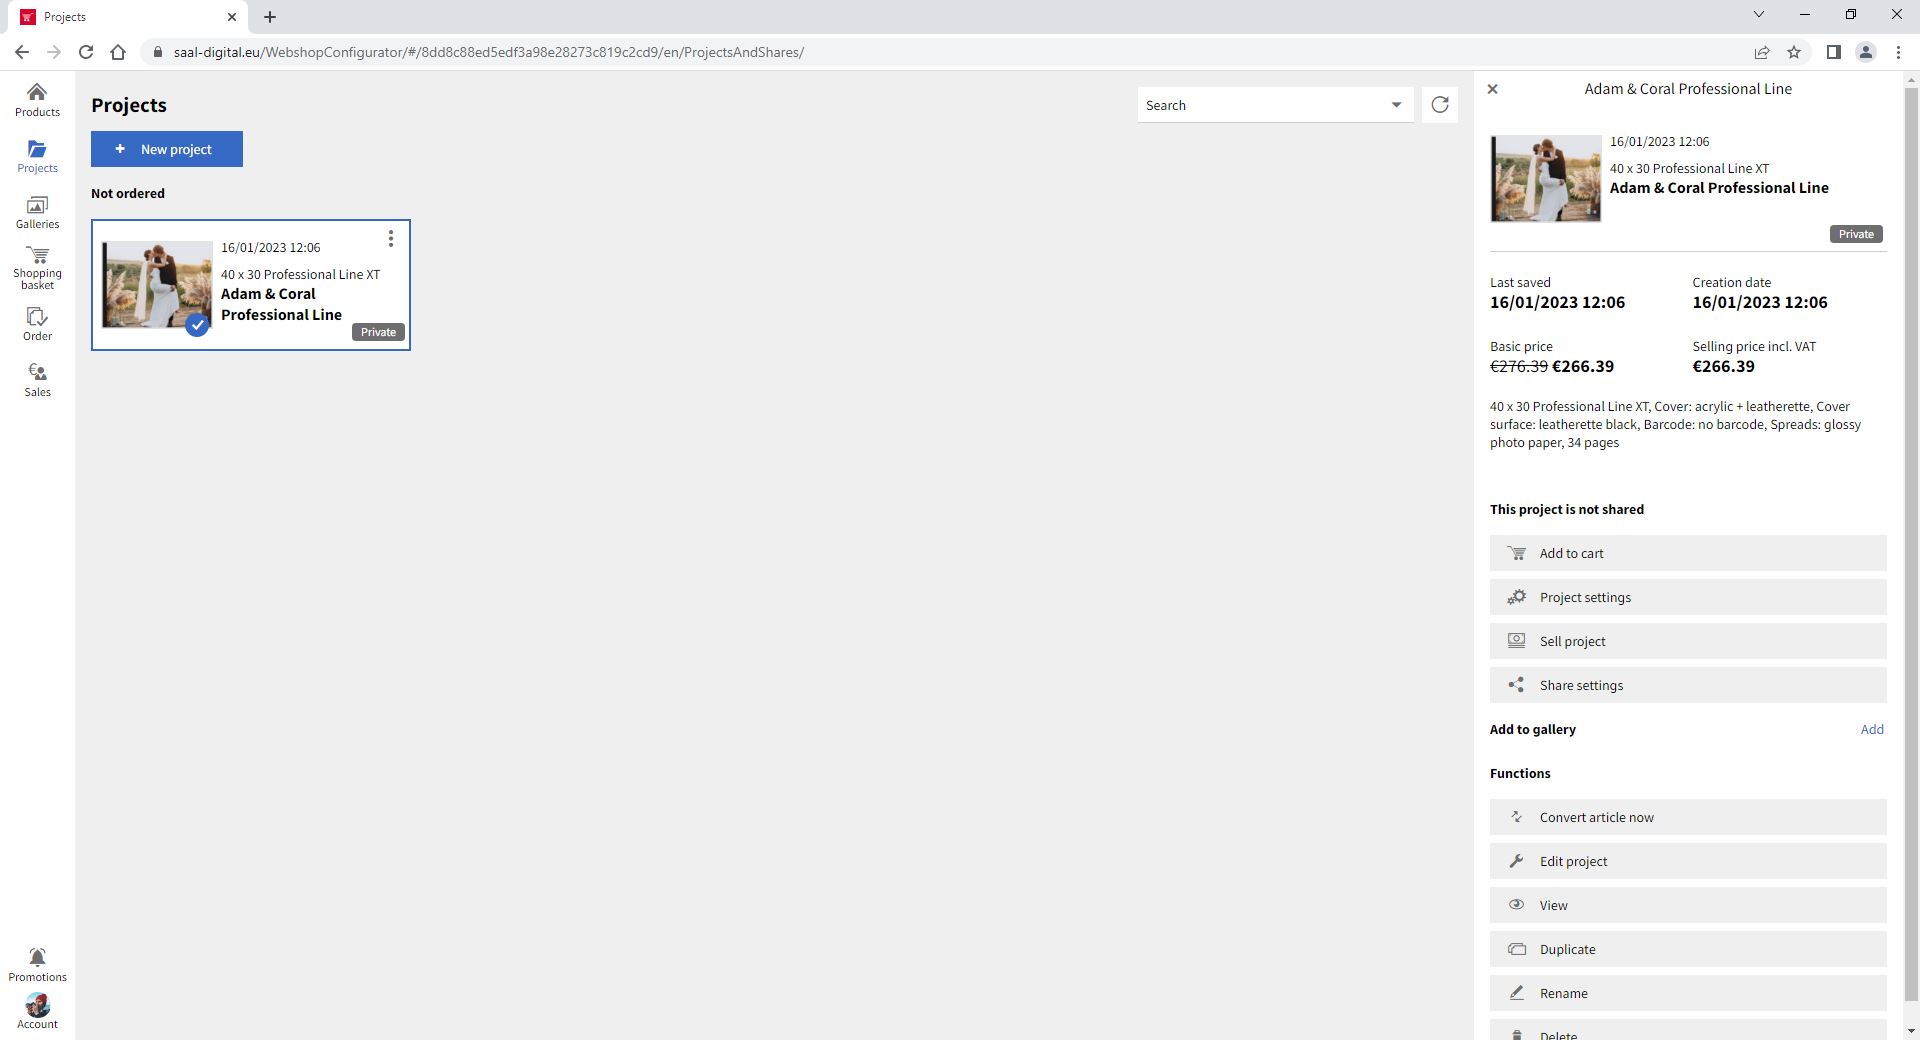
When you select a project, a menu appears on the right with all the information about it. There you will also find the Share settings button.
Once you click on Share settings a pop-up menu will appear. Here you need to activate sharing.
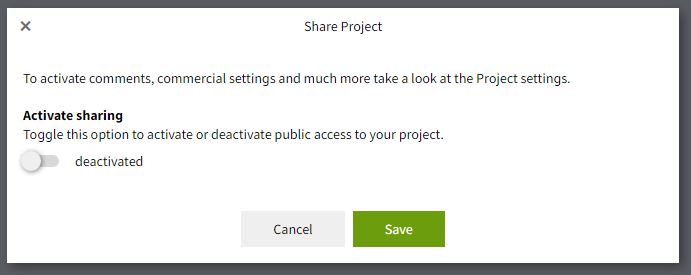
When activated, various options will appear to allow you to customize how you share your project:
Secure with a password. Protect your project with a password if you wish. You will need to manually inform users of the password so they can access the project.
Shared link. The shared link to your project is available here. Clicking Copy Share Link will copy the shared link for you to manually paste and share with the users of your choice using your preferred method or platform. Clicking Open will take you to your project’s shared link so that you can see how users will perceive it. Clicking Send by email will send the link by email using the default email software you have selected on your device.
Send e-mail to contacts. You can send by email the shared link to your Photo Portal contacts directly from here by clicking Share with contacts.
You will see that the title written in your project settings has been copied as the default title for your project’s shared link. You can overwrite the title to appear as the title of your project in the shared link if you wish. You can also overwrite the description. If you have previously enabled languages in your Sales Panel, you can add the translated title and description for your project shared link here by clicking Translate. The enabled languages will be displayed for you to fill in.
Publish on profile page. You can tick this option to publish the project on your profile page. This way, in addition to accessing the project through the shared link, users will be able to visit it through your Profile page. It will be added to a gallery called Projects, where it will appear alongside any other projects you’ve chosen to activate for profile page visibility. This Projects gallery will be displayed along with the galleries you have published on your Profile Page.

Once you have configured the project, click on Save. You will see that the status of your project has changed.


Get exclusive discounts and designing tips! By signing up, you acknowledge our Privacy Policy. You can unsubscribe at any moment.